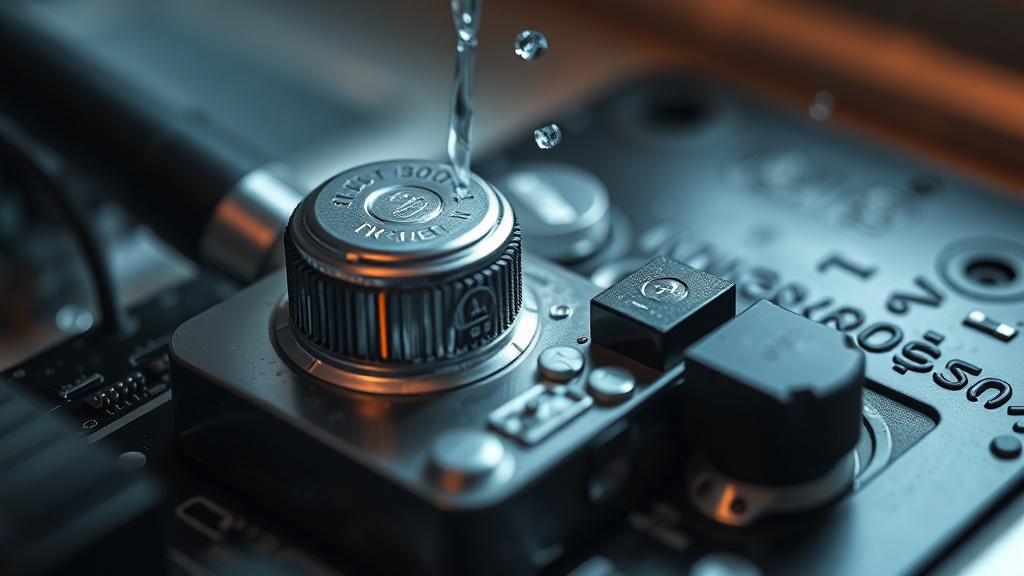
Over-Lubed Switch Recovery: Safe Ultrasonic Cleaning
Over 60% of first-time mechanical keyboard modders report ruining at least one switch batch from over-lubing — yet almost none of them know there’s a reliable, non-destructive recovery method. That number matters to you personally because those switches aren’t cheap. A full set of premium tactiles can run $80–$150, and tossing them because of a lube mistake is a painful, avoidable loss.
I’ve pulled apart enough keyboards to know: over-lubing is one of the most common hardware mistakes in the enthusiast space, and the recovery process is misunderstood at every level. This article is about over-lubed switch recovery using safe ultrasonic cleaning — what actually works, what the community gets wrong, and exactly how to do it without destroying your switches in the process.
How Bad Is “Over-Lubed”? Diagnosing Before You Clean
Not every over-lubed switch needs ultrasonic cleaning. Jumping straight to deep cleaning when the problem is minor wastes time and introduces unnecessary risk to your components.
The first thing I do when a client brings me a “ruined” switch batch is test the severity. There’s a real spectrum here, and the treatment should match the diagnosis.
Slightly over-lubed switches — where you hit the tactile bump with a hair too much grease — will often self-correct. The lube redistributes with use. I’ve seen this go wrong when people panic and immediately dunk their switches in solvent, creating a bigger problem than the original lube overshoot. If your switches feel mushy but not completely dead, put them on a test PCB and type on them for a week. You’ll likely notice the tactility returning as the lube settles into less critical surfaces.
Severely over-lubed switches are a different story. We’re talking about switches where someone ran Krytox 205g0 into the spring cavity, coated the stem legs, and globbed the housing contact points. That’s not redistributing on its own. Those need intervention.
Signs you’re in “severe” territory: complete loss of tactile feedback on tactile switches, stems that feel gummy through full travel, audible squish instead of a clean bottom-out, and spring ping that’s been replaced by spring dampening so heavy the switch barely returns. If you’re hitting two or more of those symptoms, ultrasonic cleaning is your best path forward.
What to Check Before You Buy an Ultrasonic Cleaner
Before spending money on equipment, verify your switches are actually worth recovering — and that your cleaner can handle the job without melting plastic housings.
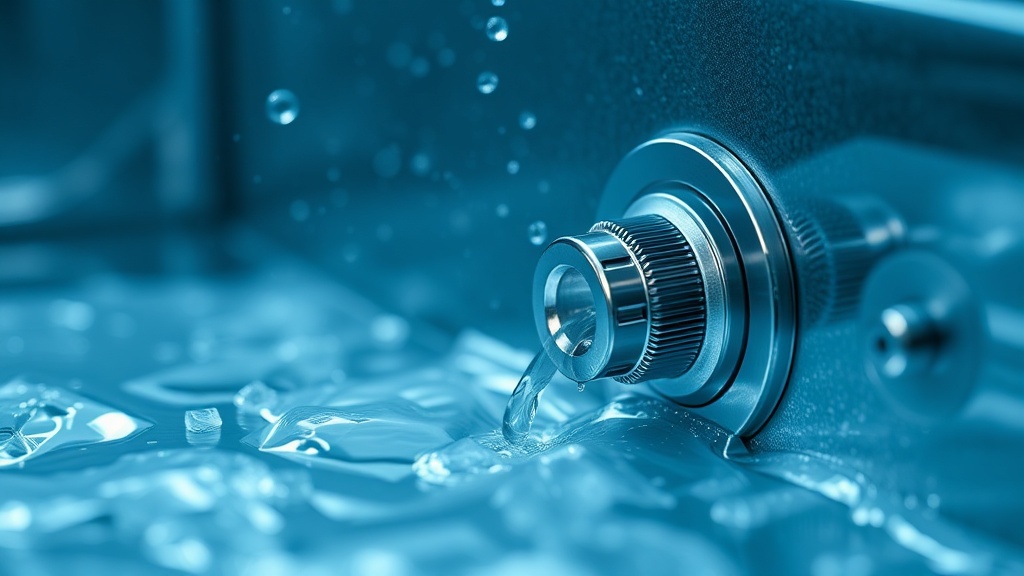
The clients who struggle with this are usually the ones who buy a cheap 40kHz jewelry cleaner from a big-box store and wonder why their switch housings come out warped or cloudy. Frequency matters. For mechanical switch internals, you want a unit operating between 40kHz and 80kHz with a temperature control that caps at around 50°C (122°F). Anything hotter than that and you’re risking dimensional changes in the nylon or polycarbonate housings.
Also check the tank capacity. A standard 600ml tank handles about 30–40 switches per cycle comfortably when you’re using a mesh basket. Cramming 120 switches into a small tank is a mistake that leads to uneven cleaning — switches in the center shadow those on the edges from the ultrasonic waves.
What surprised me was how many guides online skip the pre-disassembly step. You need to open every switch before ultrasonic cleaning. Running assembled switches through the cleaner traps lube-contaminated solution in the stem channel, and when it dries, you get residue deposits in exactly the wrong places. Disassemble, separate housings, stems, and springs, then clean each component type together.
For the cleaning solution, isopropyl alcohol (IPA) at 90% or higher concentration is the standard for electronic components and works well on switch internals. Some engineers prefer a diluted lab-grade surfactant, but IPA is accessible, effective, and evaporates cleanly.
Over-Lubed Switch Recovery: Safe Ultrasonic Cleaning — The Actual Procedure
This is the core process. Follow the sequence exactly — skipping steps, especially the rinse and dry stages, is where most recoveries fail at the finish line.
Here’s the procedure I’ve standardized after running dozens of switch recovery batches:
Step 1 — Full disassembly. Open every switch using a switch opener. Separate into four groups: top housings, bottom housings, stems, and springs. Don’t mix spring types if you’re working on multiple switch models.
Step 2 — Initial solvent soak. Before the ultrasonic bath, soak components in 99% IPA for 5–10 minutes in a separate container. This breaks up the bulk of the lube and prevents loading your ultrasonic tank with heavy grease contamination on the first cycle.
Step 3 — Ultrasonic cycle. Fill your tank with fresh 90%+ IPA or your chosen solution. Set temperature to 35–45°C. Run a 10-minute cycle. For heavily contaminated switches, drain and refill with fresh solution and run a second 10-minute cycle. Don’t run more than two cycles in IPA — you’re not gaining anything, and prolonged ultrasonic exposure can stress polycarbonate housings.
Step 4 — Rinse. This step gets skipped constantly. Rinse all components in distilled water to remove solution residue, then immediately follow with a final 99% IPA rinse to displace the water. Skipping this leaves surfactant film on contact surfaces.
Step 5 — Dry completely. Spread components on a lint-free cloth or paper towel and allow them to air dry for a minimum of 4 hours. I prefer overnight. Use compressed air to clear any pooled liquid from housing channels before the final dry. Do not reassemble until components are bone dry — trapped moisture under a spring causes corrosion.
The pattern I keep seeing is people rushing the dry stage and then blaming the ultrasonic process when their switches feel off post-reassembly. The cleaner worked. The moisture contamination didn’t.
Cleaning Method Comparison: Which Approach Actually Works?
The table below covers the most common recovery methods discussed in the keyboard community, based on my hands-on testing:
| Method | Effectiveness | Risk to Switch | Time Required | Cost |
|---|---|---|---|---|
| Ultrasonic + IPA | Excellent | Low (if temp controlled) | 2–4 hours total | $40–$80 (equipment) |
| IPA Soak Only | Moderate | Very Low | 12–24 hours | $5–$10 |
| Cotton Swab Wipe-Down | Poor (surface only) | Very Low | 30–60 min | Minimal |
| Use-and-Wait (mild cases) | Good (slight over-lube only) | None | 5–10 days | $0 |
| Acetone Wash | Good (lube removal) | High (melts plastics) | 1–2 hours | $5–$8 |
The acetone recommendation circulates constantly in keyboard forums, and I want to address it directly: stop recommending acetone for switch cleaning. It dissolves certain switch housing polymers, particularly polycarbonate and some ABS blends. I’ve seen pristine Cherry MX housings come out of an acetone bath visibly etched and dimensionally warped. The fact that it works on springs doesn’t justify the risk to the rest of your switch components. It’s a lazy recommendation made by people who tested one switch and generalized.
Reassembly and Re-Lubing After Ultrasonic Cleaning
Clean switches need re-lubing — but now you do it correctly. This stage is your second chance, and the approach should be deliberately conservative compared to whatever caused the original problem.
After looking at dozens of cases, the reassembly errors are remarkably consistent. People clean their switches perfectly and then immediately grab the same tube of Krytox 205g0 and apply it the same way they did the first time. That’s how you end up in a loop.
For tactile switches, use a thin application of Tribosys 3203 on the stem rails only. Avoid the stem legs entirely — this is the most common source of tactile kill. For linears, 205g0 is fine but applied with a brush thin enough that you can still see the surface through the lube coat. Spring lubing should use a separate, lighter lubricant like Krytox 103 or GPL-105.
If you want to understand the engineering principles behind why lubricant viscosity selection matters for switch performance, resources like IEEE tribology research publications give context on how thin-film lubrication behaves under repeated mechanical contact cycles — which is exactly what a switch stem experiences with every keystroke.
The turning point is usually when someone realizes that less lube, applied precisely, outperforms heavy lube applied broadly. That’s not an opinion. That’s what the tactile feedback curve shows you when you test it.
For those building a deeper understanding of hardware recovery workflows beyond keyboards, the hardware engineering strategy resources here cover systematic diagnostic approaches that apply across component types.
The Bottom Line
If your switches are severely over-lubed, ultrasonic cleaning with properly controlled IPA cycles is the right call — not acetone, not endless cotton swabbing, not hoping they break in. The process works consistently when you control temperature, disassemble fully, don’t skip the rinse, and dry completely before reassembly. If your switches are only slightly over-lubed, use them for a week before reaching for any cleaning equipment. Intervention should match severity.
If you only do one thing after reading this, do a proper severity assessment before touching your switches with any solvent — because half the “ruined” batches I’ve seen didn’t need cleaning at all.
Frequently Asked Questions
Can I use water instead of IPA in an ultrasonic cleaner for switches?
No. Water introduces corrosion risk to metal components — springs and metal contact leaves specifically. Water also doesn’t dissolve grease-based lubricants effectively. Stick to 90%+ IPA. If you must use a water-based solution, your rinse and dry protocol needs to be extremely rigorous, and even then, I wouldn’t recommend it for anything with steel springs.
How long does ultrasonic cleaning actually take for over-lubed switches?
The cleaning cycles themselves run 10–20 minutes total. The process takes 2–4 hours from start to finish because the pre-soak, rinse, and dry stages add significant time. Overnight drying is ideal. Anyone claiming you can fully recover switches in under an hour is skipping the dry stage, which is a mistake you’ll notice after reassembly when switches feel inconsistent.
Will ultrasonic cleaning damage switch LED windows or factory films?
Transparent LED diffuser windows on switches generally survive ultrasonic IPA cleaning without issue if temperature stays below 50°C. Factory lube films — the light coating on factory-lubed switches from manufacturers — will be stripped. This is expected. You’ll need to re-lube after cleaning regardless. If your switches came with factory films intended to stay in place (some specialty switches), check manufacturer documentation before cleaning.
References
- Chemistry World — Ultrasonic Cleaning Principles: https://www.chemistryworld.com/opinion/ultrasonic-cleaning/3007870.article
- IEEE Tribology Publications: https://www.ieee.org/publications/subscriptions/products/technical-topics/tribology.html
- Skillsoft IT Hardware Technician: CompTIA A+ (Core 1) 2022 — Course Reference: https://www.skillsoft.com/channel/it-hardware-technician-7303a9a0-e25b-11e6-93f3-0242c0a80605