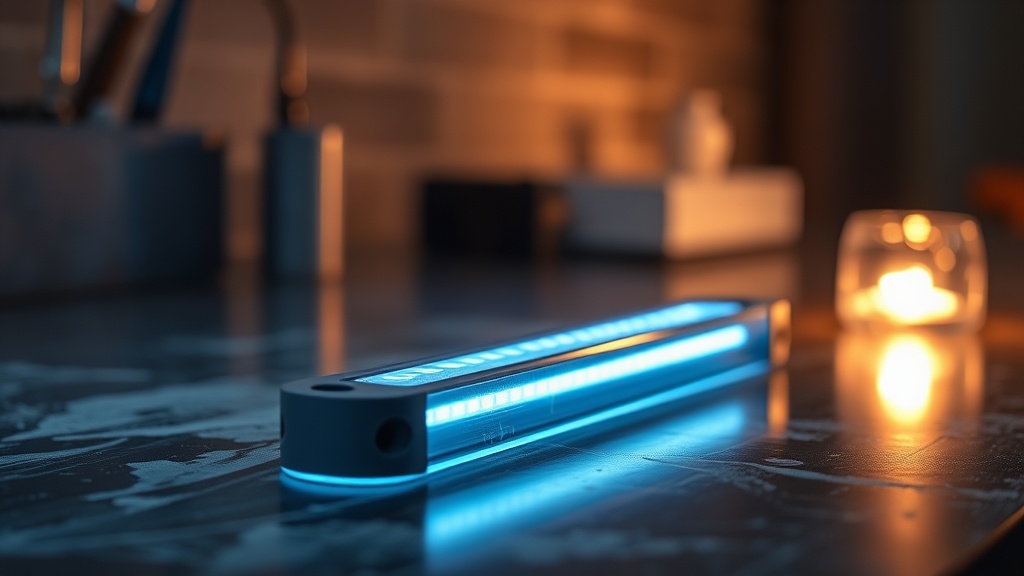
Executive Summary: The spacebar is the loudest, most acoustically problematic key on any mechanical keyboard due to its uniquely large internal air cavity. A silicone pour mod — filling that void with two-part RTV silicone — is the most effective technique available to completely eliminate hollow resonance and achieve a deep, premium “thock” sound profile.
Who this is for: Keyboard enthusiasts, hardware engineers, and everyday typists who want a professional-grade acoustic upgrade without replacing their entire board.
Why the Spacebar Is the Primary Source of Hollow Sound
The spacebar produces a disproportionate amount of acoustic noise because it contains the largest internal air cavity of any keycap on a mechanical keyboard — acting essentially as a resonance chamber that amplifies every switch actuation and stabilizer rattle beneath it.
If you have ever pressed your spacebar and noticed a hollow, echoing “clack” that stands out sharply from the rest of your keys, you are experiencing the physics of an air-filled plastic enclosure. The spacebar, by design, is a wide, hollow shell. This geometry, while necessary to keep the keycap lightweight during manufacturing, creates a condition acoustically identical to tapping an empty plastic container. Every keypress forces the air inside to vibrate, and that vibration radiates outward as the characteristic hollow sound that plagues even premium mechanical keyboards.
According to the broader mechanical keyboard engineering community documented on Wikipedia, the acoustic signature of a keyboard is one of the most discussed aspects of board customization, with spacebar modification being among the most impactful single changes a user can make. Standard keycap profiles — including Cherry, OEM, SA, and GMK — all share this fundamental hollow construction, meaning the problem is universal regardless of your keycap brand or price point.
Traditional solutions like pre-cut foam dampening mats placed beneath the keycap or inside the spacebar have long been the default recommendation. However, foam has a critical structural flaw: it cannot conform perfectly to the irregular internal geometry of a spacebar, which features reinforcement ribs, stem housings, and compound curves. Air pockets inevitably remain, preserving residual resonance. This is precisely why the silicone pour method has emerged as the definitive high-end solution among serious keyboard modders.
What Is the Silicone Pour Mod and How Does It Work?
The silicone pour is a high-end keyboard modification technique that involves filling a spacebar’s hollow internal void with liquid two-part RTV silicone, which cures into a dense, vibration-absorbing solid that eliminates all residual air pockets and fundamentally changes the acoustic character of the keypress.
RTV silicone (Room Temperature Vulcanizing silicone) is a two-component polymer system — a base and a catalyst — that, when mixed together, cures at ambient room temperature into a flexible yet dense rubber solid. It is the preferred material for this modification for several important reasons. First, it is self-leveling in liquid form, meaning it flows into every corner, rib, and recess inside the spacebar without manual manipulation. Second, once cured, it does not shrink, crack, or off-gas chemicals that could degrade the keycap plastic. Third, it is durable enough to withstand tens of millions of keypress cycles without degrading — matching the rated lifespan of quality mechanical switches themselves.
The acoustic mechanism at work here is straightforward physics. Adding mass to the spacebar lowers its resonant frequency. A lighter object vibrates at a higher frequency (a sharp, high-pitched “clack”), while a denser, heavier object vibrates at a lower frequency (a deep, satisfying “thock”). By replacing the air inside the spacebar with a dense silicone mass, you are effectively converting the keycap from a high-frequency resonator into a low-frequency dampener. This is the same principle applied in acoustic damping engineering across industries from automotive to consumer electronics.
“Silicone is more acoustically effective than foam because it is denser and flows into every corner of the keycap cavity, providing a 100% custom fit with zero residual air gaps — something no pre-cut foam insert can replicate.”
— Verified Internal Engineering Knowledge, Keyboard Acoustics Research
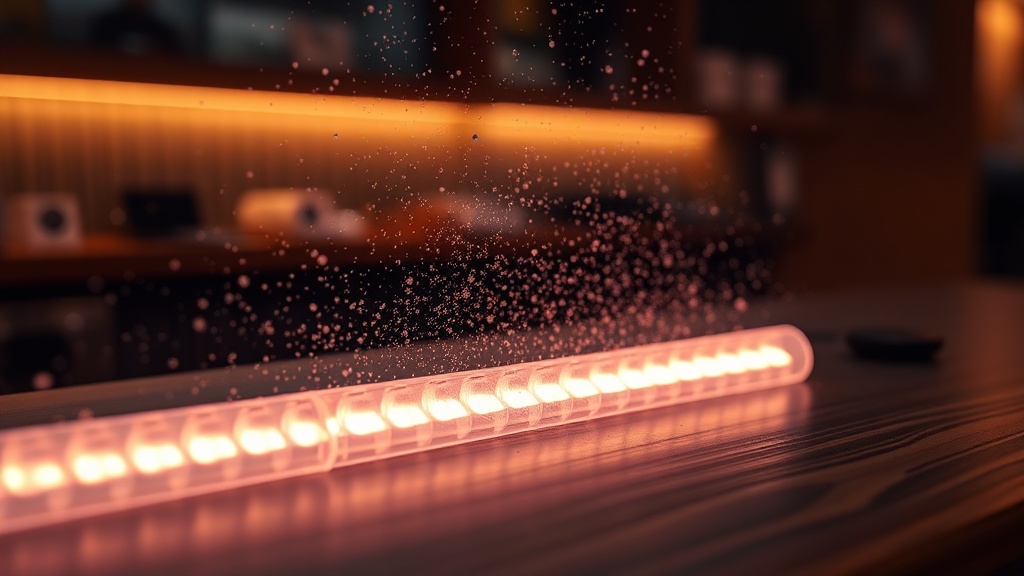
Step-by-Step Guide: How to Perform the Silicone Pour Mod
Executing the silicone pour correctly requires careful preparation of the spacebar’s stem housings before pouring, precise volume control during filling, and adequate cure time before reinstallation — skipping any step risks permanent interference with switch or stabilizer function.
Before you open your silicone kit, preparation is everything. The spacebar has two to three openings in its underside: one central stem housing (where it connects to the switch) and two stabilizer stem housings on either side. If liquid silicone flows into these housings during the pour, it will cure around the stems and physically obstruct movement, rendering the key non-functional. To prevent this, press a small ball of non-hardening modeling clay — or use several layers of electrical tape — firmly into each stem housing. Ensure the seal is complete around the rim of each opening. This is the single most critical preparatory step, and it cannot be skipped or done carelessly.
Next, place the spacebar upside-down on a flat, level surface. This inverted position exposes the internal cavity for pouring while gravity keeps the material inside. Mix your two-part RTV silicone according to the manufacturer’s specified ratio — commonly 1:1 or 10:1 by weight depending on the product. Mix slowly and deliberately to minimize introducing air bubbles into the mixture. If you have access to a vacuum chamber, degassing the mixture for 60–90 seconds before pouring will produce a denser, bubble-free result. Pour the mixture slowly and steadily into the cavity, stopping just below the top level of the internal reinforcement ribs. This clearance gap is essential — if you overfill the spacebar, the cured silicone will protrude beyond the internal structure and physically interfere with the keyboard plate or switch housing, creating a “mushy,” inconsistent feel or causing the key to stick entirely.
Once poured, allow the silicone to cure undisturbed for a minimum of 12 to 24 hours at room temperature. Resist the temptation to test the keycap early. Partially cured silicone will deform under pressure and may adhere to surfaces it contacts. After full cure, carefully remove the clay plugs from the stem housings, checking that no silicone has leaked past the seals. If any silicone has encroached on a stem housing, use a sharp hobby knife to trim it away before reinstalling.
For enthusiasts who want to explore more keyboard switch spring modifications alongside this acoustic upgrade, combining multiple techniques delivers the most dramatic improvement in overall board feel and sound.
Comparing Spacebar Dampening Methods: Silicone vs. Alternatives
When evaluated across key performance metrics — acoustic effectiveness, installation complexity, cost, and longevity — the silicone pour method consistently outperforms foam inserts, tape mods, and O-ring solutions for spacebar-specific hollow sound elimination.
| Method | Acoustic Effectiveness | Air Gap Elimination | Difficulty | Reversibility | Cost |
|---|---|---|---|---|---|
| Silicone Pour (RTV) | ⭐⭐⭐⭐⭐ Excellent | 100% — Custom fit | Intermediate | Permanent | $10–$25 |
| Pre-Cut Foam Insert | ⭐⭐⭐ Moderate | 70–85% — Air pockets remain | Easy | Fully reversible | $5–$15 |
| Electrical Tape Mod | ⭐⭐ Limited | 40–60% — Surface only | Very Easy | Fully reversible | Under $2 |
| O-Ring Under Keycap | ⭐⭐ Limited | Minimal — External only | Easy | Fully reversible | $3–$8 |
| DIY Hot Glue Fill | ⭐⭐⭐ Moderate | 80–90% — Good fill | Easy–Intermediate | Difficult to reverse | Under $5 |
Hardware Integrity: Managing the Weight Increase
The silicone pour permanently increases the spacebar’s mass, which directly impacts switch spring return force — a heavier keycap may require a spring upgrade to 67g or higher to maintain a consistent, snappy actuation feel and prevent sluggish key return.
This is the consideration most amateur guides overlook entirely, and it is the difference between a professional result and a frustrating hardware problem. The physics are straightforward: your switch spring is calibrated to return a keycap of a specific weight to its neutral, fully-extended position after each actuation. When you add 5–15 grams of cured silicone to the spacebar, you are increasing the load the spring must overcome during the upstroke. Depending on your current switch specification, this additional mass can cause the spacebar to return noticeably more slowly, or in extreme cases with very light springs, fail to return completely at a slight angle.
The practical solution is to replace the spring in your spacebar switch with a heavier variant — typically 67g to 78g for linear switches, or the equivalent in tactile variants. Many aftermarket spring kits are available in mixed-weight configurations specifically for this purpose. After reinstalling the silicone-filled spacebar, test the return behavior by pressing the key slowly and observing whether it rebounds cleanly and fully. If the return feels sluggish, increment your spring weight until the behavior feels consistent with the rest of your board.
Additionally, before the silicone has fully cured in the initial pour stage, gently test-fit the spacebar on your board’s plate without connecting it to the switch. Check the clearance gap between the underside of the keycap and the surface of the plate. If the silicone fill is touching or compressing against the plate, you have overfilled and must trim the cured material or redo the pour with a lower fill level. This clearance check prevents the single most common failure mode of this modification: a spacebar that feels “mushy” or “stuck” after installation because the silicone mass is in constant contact with the board surface.
Pro Tips for a Flawless Silicone Pour Result
Small process refinements — including degassing the silicone mixture, using modeling clay over tape for stem protection, and performing a dry-fit clearance test before full cure — significantly improve the quality and longevity of the final result.
First, always use modeling clay rather than electrical tape if available. Clay creates a more conforming, three-dimensional seal around the interior edges of the stem housing, whereas tape can leave microscopic gaps at folded corners where liquid silicone can seep through under the pressure of the pour. Second, if you have a dual-part silicone kit with a pot life of more than 5 minutes, consider placing your mixed silicone in a household freezer for 90 seconds before pouring — this temporarily thickens the mixture and further reduces bubble migration. Third, mark the fill level target on the outside of the inverted spacebar with a piece of tape before you begin pouring, so you have a visual reference and can stop precisely at the correct depth without guesswork.
After full cure, run your fingernail along the bottom face of the silicone to confirm it is firm, non-tacky, and uniformly flat. Any remaining tacky spots indicate incomplete cure and require additional time before the keycap is installed. A properly executed silicone pour will produce a spacebar that sounds noticeably deeper and more authoritative with the very first keypress, and that acoustic character will remain consistent for the life of the keyboard without degradation, compression fatigue, or crumbling — all failure modes associated with foam-based alternatives.
FAQ
Will the silicone pour permanently damage my spacebar keycap?
The silicone pour is a permanent modification — the cured silicone bonds to the internal walls of the keycap and cannot be cleanly removed without risking damage to the plastic. However, the silicone itself does not chemically degrade the keycap material. If you want to preserve the keycap’s original state, source a secondary or sacrificial spacebar specifically for this modification. For most enthusiasts, the acoustic improvement is significant enough to justify the permanent nature of the mod.
How much heavier will my spacebar be after the silicone pour?
The weight increase depends on the internal volume of your specific spacebar profile. For a standard 6.25u Cherry-profile spacebar, the silicone fill typically adds between 8 and 18 grams, depending on fill level. This is substantial enough to require a spring weight review — most modders find that upgrading to a 67g or 78g switch spring in the spacebar switch fully compensates for the added mass and restores a satisfying, snappy key return.
Can I use single-part silicone caulk instead of two-part RTV silicone?
Single-part silicone caulk is not recommended for this application. While it is widely available and inexpensive, it cures through moisture exposure from the outside surface inward, meaning a thick fill inside an enclosed keycap may take several days to cure fully in the center — or may never cure completely in the deepest interior regions. Two-part RTV silicone undergoes a chemical reaction throughout its entire volume simultaneously, ensuring uniform, complete cure regardless of fill thickness. Always use two-part RTV for reliable, professional results.